部署 consul
下载压缩包,进行解压
mkdir -p   /opt/consul/data
cd /opt/consul/
wget  https://releases.hashicorp.com/consul/1.20.2/consul_1.20.2_windows_amd64.zip

unzip consul_1.20.2_linux_amd64.zip
ln -s /opt/consul/consul /usr/bin/
启动consul
consul agent \  #初始化
-server \
-bootstrap \
-ui \   #ui界面
-data-dir=/opt/consul/data \   #数据存储位置
-bind=192.168.10.3 \  #绑定地址
-client=0.0.0.0 \        #监听所有地址
-node=consul-server01 &> /var/log/consul.log &   #后台运行
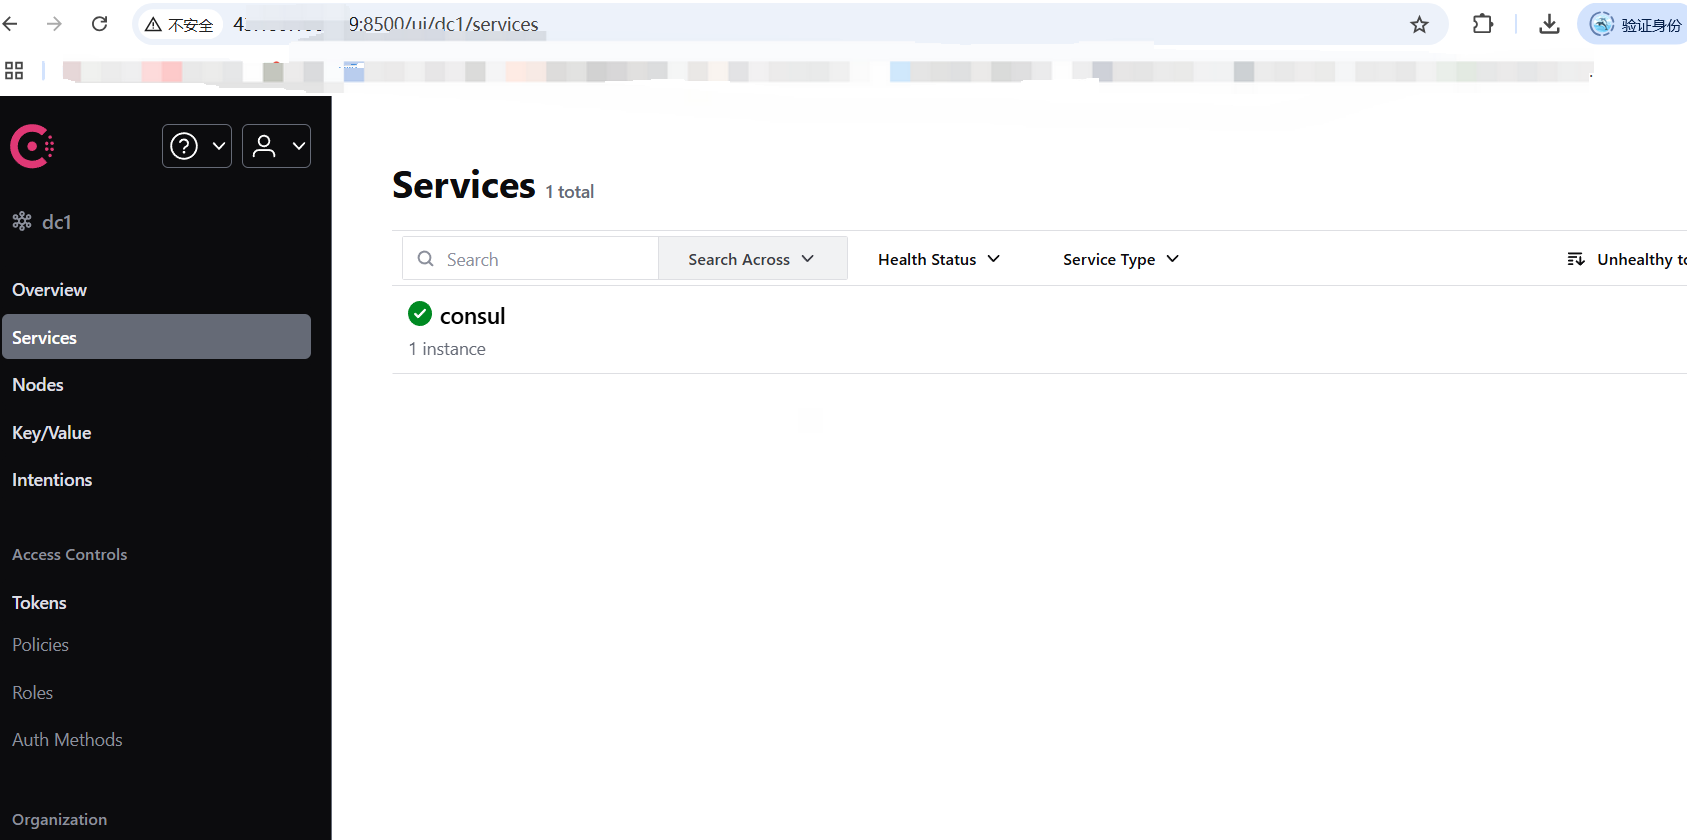
测试访问 8500端口


通过api进行服务注册
curl -X PUT -d '{"id": "node-exporter_consul","name": "node-exporter_consul","address": "192.168.10.44","port": 9100,"tags": ["exporter"],"meta": {"job": "node_exporter","instance": "Prometheus服务器"},"checks": [{"http": "http://192.168.10.44:9100/metrics", "interval": "5s"}]}' http://192.168.10.3:8500/v1/agent/service/register参数说明
id : 注册ID 在consul中为唯一标识
name :Service名称
address:自动注册绑定ip
port:自动注册绑定端口
tags:注册标签,可多个
checks : 健康检查
http:   检查数据来源
interval: 检查时间间隔
http://192.168.10.3:8500/v1/agent/service/register   consul注册接口

配置 prometheus.yml
  - job_name: monitor_for_consul
    honor_labels: true
    metrics_path: /metrics
    scheme: http
    consul_sd_configs:
      - server: 192.168.10.3:8500 # consul服务器地址,如果是集群则可以继续添加 -server: node2地址 可以添加多个 复制这两行依次粘贴即可
        services: [] #发现的目标服务名称,即consul中左侧列表中services标签内显示的服务  空为所有服务, 可以写 servicea,servcieb,servicec
    relabel_configs:
    - source_labels: ['__meta_consul_tags']
      target_label: 'product'
    - source_labels: ['__meta_consul_dc']
      target_label: 'idc'
    - source_labels: ['__meta_consul_service']
      regex: "consul"
      action: drop #删除consul自己本身的services
查看效果
