1. 先创建命名空间
kubectl create ns monitor运行yaml
kubectl apply -f node-exporter-daemonset.yamlapiVersion: apps/v1
kind: DaemonSet
metadata:
name: node-exporter
namespace: monitor
labels:
k8s-app: node-exporter
spec:
selector:
matchLabels:
k8s-app: node-exporter
template:
metadata:
labels:
k8s-app: node-exporter
spec:
tolerations:
- effect: NoSchedule
key: node-role.kubernetes.io/master
containers:
- image: prom/node-exporter:v1.3.1
imagePullPolicy: IfNotPresent
name: prometheus-node-exporter
ports:
- containerPort: 9100
hostPort: 9100
protocol: TCP
name: metrics
volumeMounts:
- mountPath: /host/proc
name: proc
- mountPath: /host/sys
name: sys
- mountPath: /host
name: rootfs
args:
- --path.procfs=/host/proc
- --path.sysfs=/host/sys
- --path.rootfs=/host
volumes:
- name: proc
hostPath:
path: /proc
- name: sys
hostPath:
path: /sys
- name: rootfs
hostPath:
path: /
hostNetwork: true
hostPID: true
2. 接入prometheus
修改prometheus的配置文件 prometheus.yml
  - job_name: "node-exporter"
    static_configs:
      - targets:  ["192.168.10.23:9100"]
- targets: ["192.168.10.33:9100"] 
重启 prometheus
systemctl restart prometheus.service4. 通过prometheus查看

5. 通过 grafana

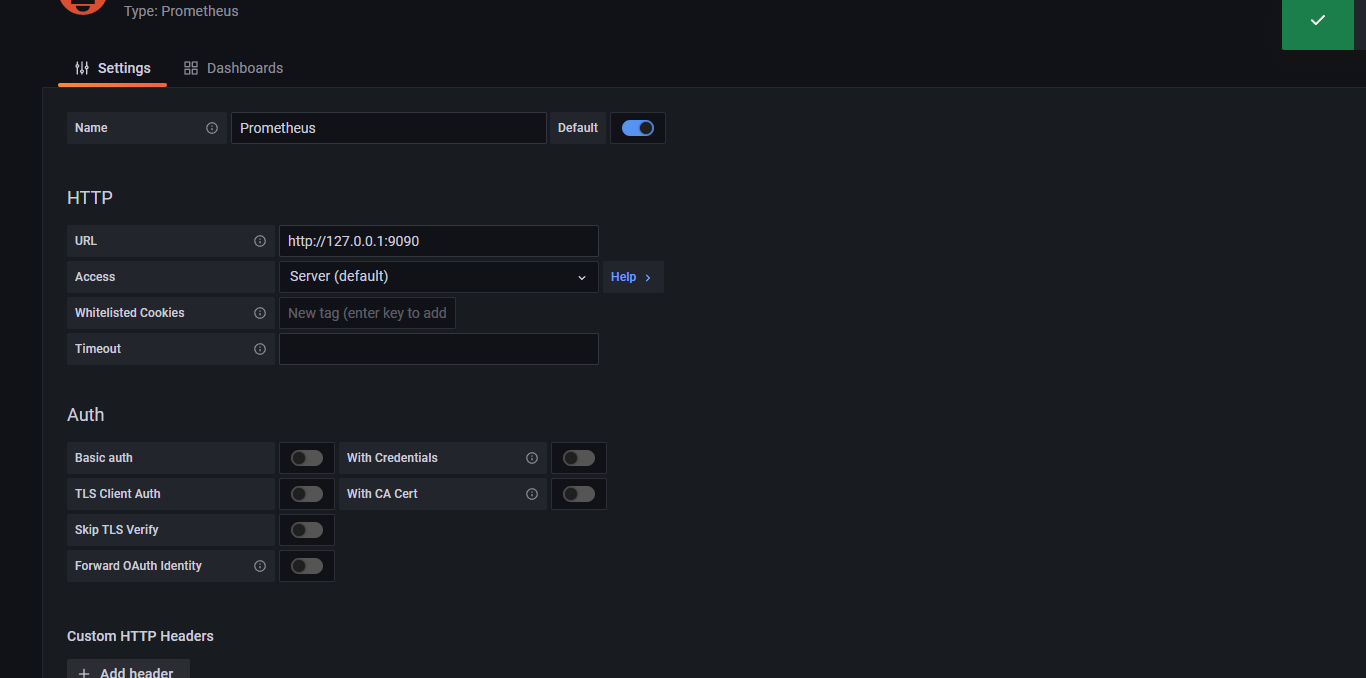
先添加数据源

选择prometheus

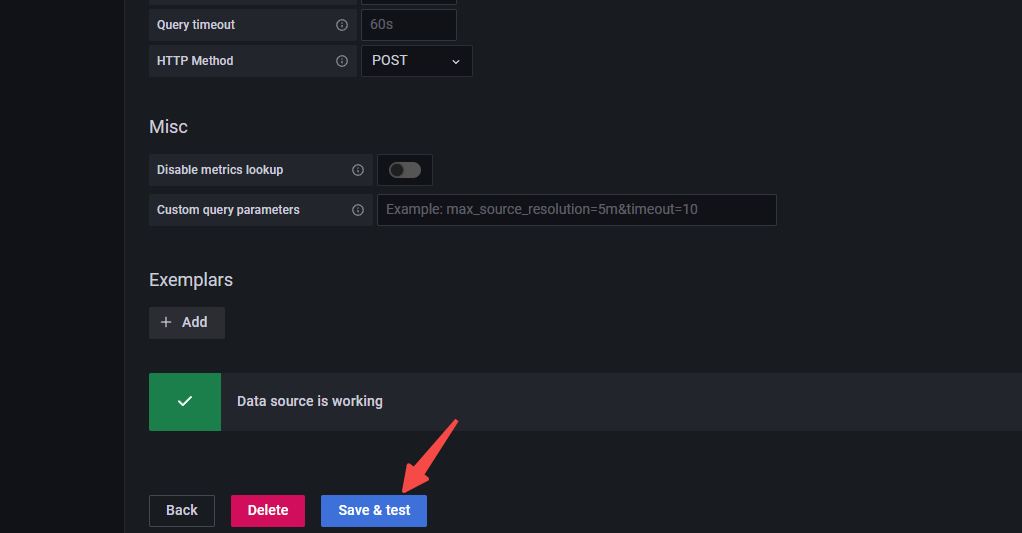
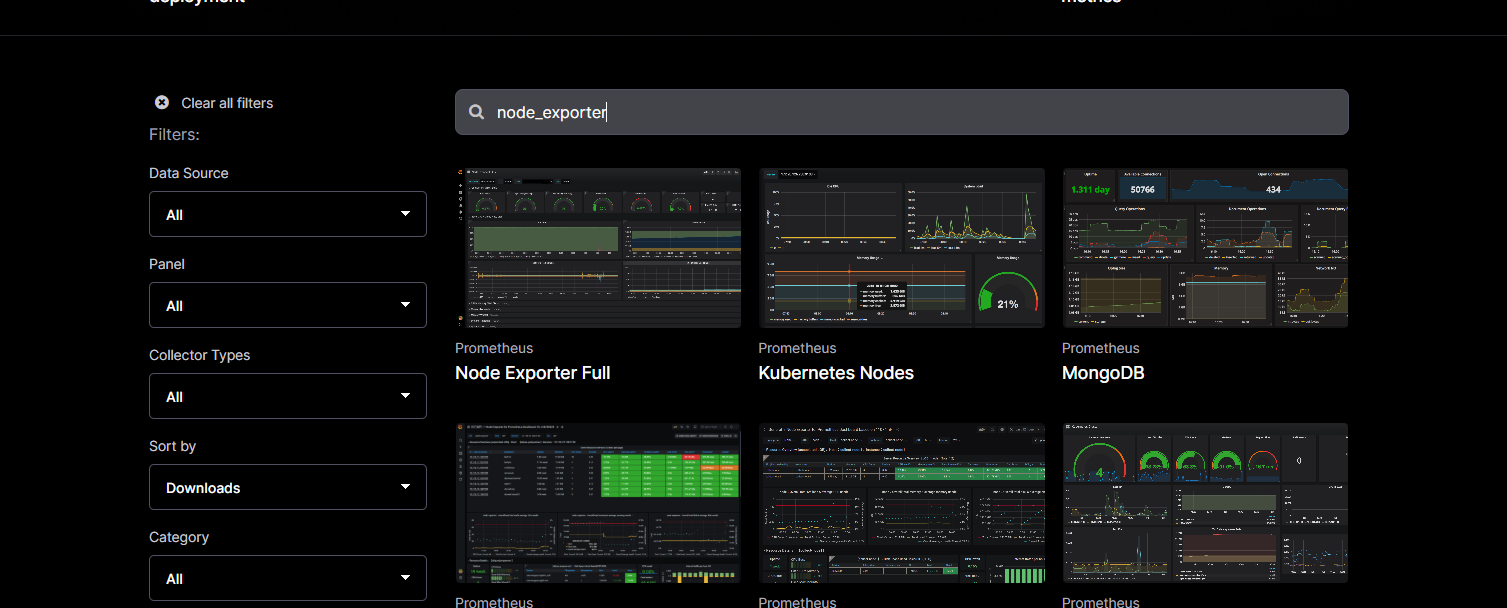
导入 dashboards
可以在这个网站找对应的 dashboards
https://grafana.com/grafana/dashboards/?pg=graf&plcmt=dashboard-below-text
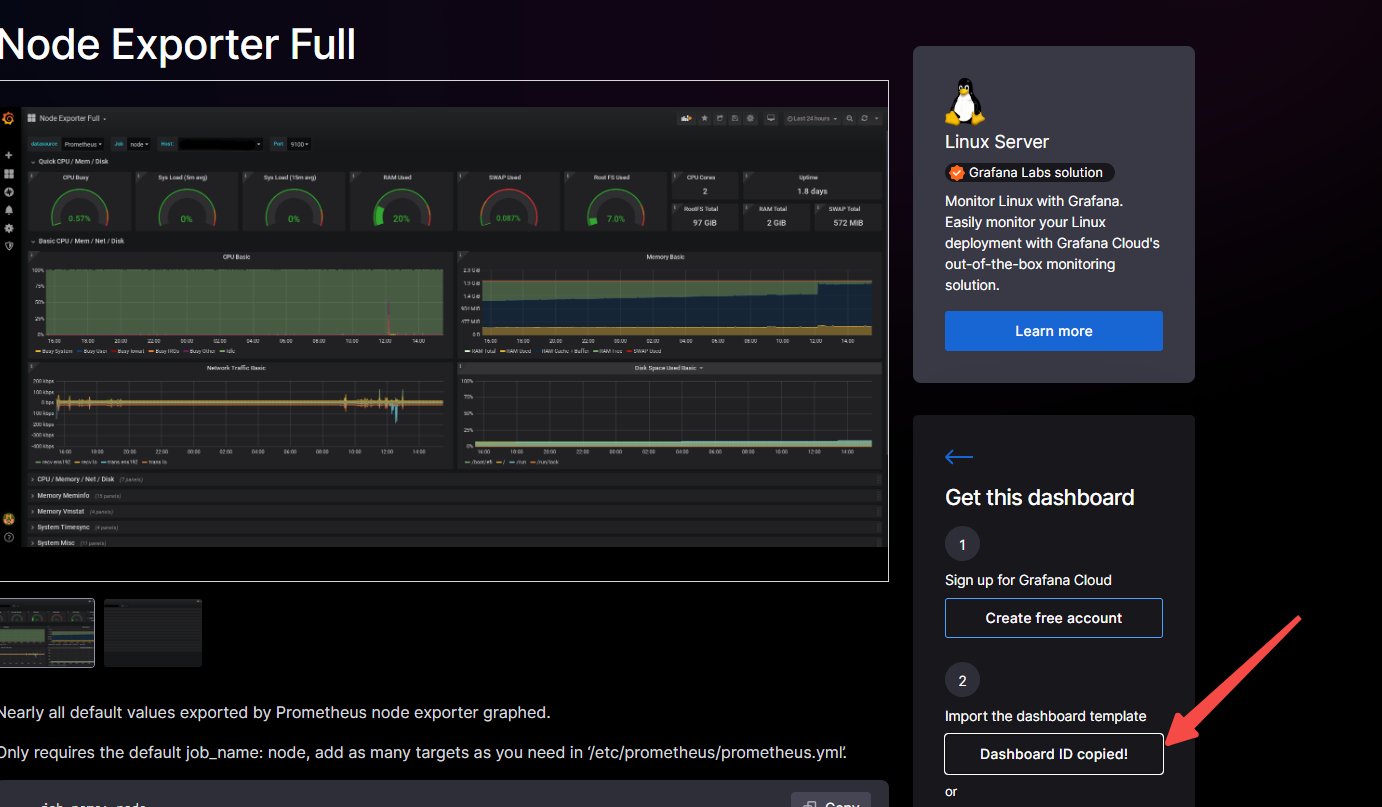
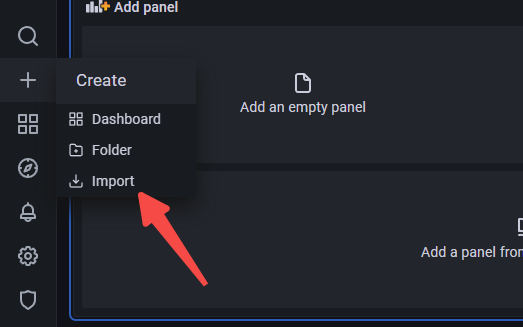
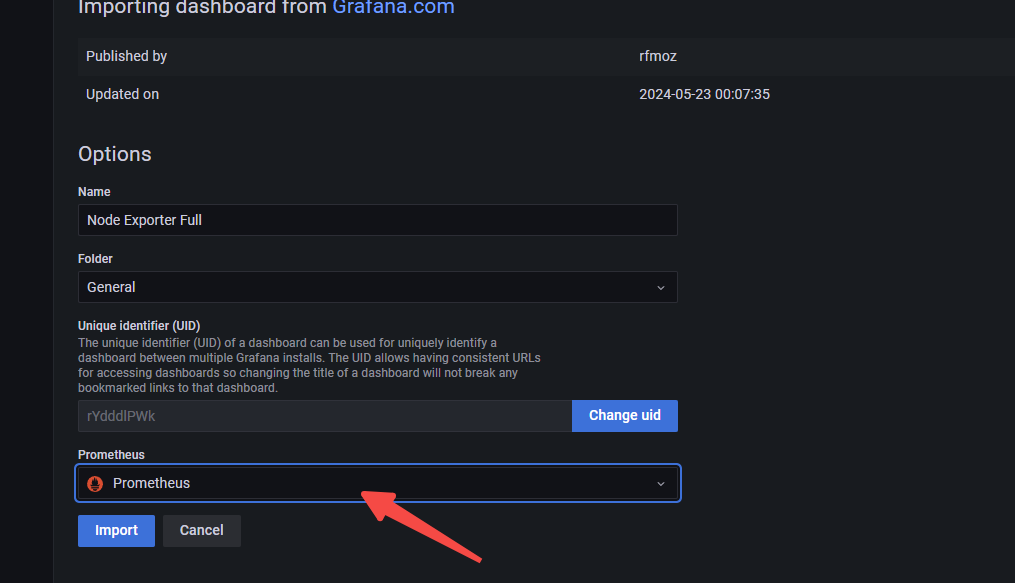
在这里输入ID ,这里使用15172,1860这边测试一下,使用不了
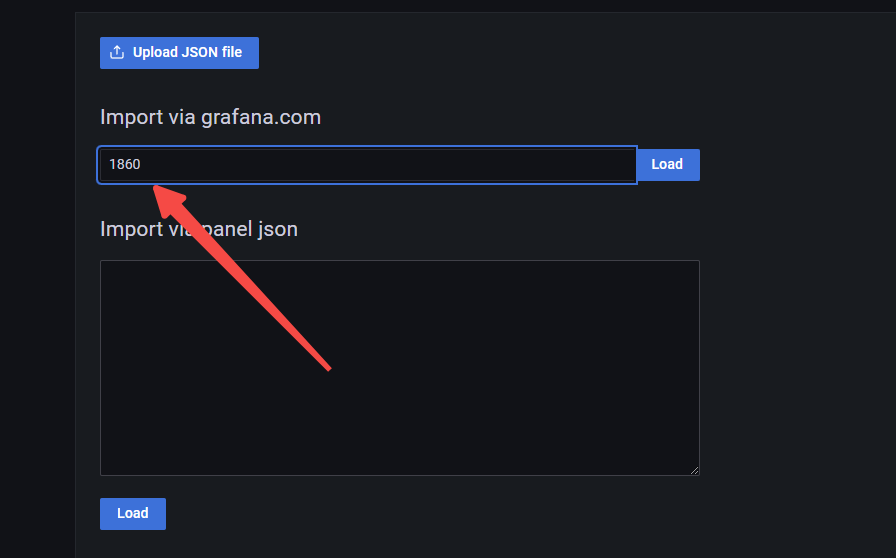
选择数据源
